Monday, October 31, 2011

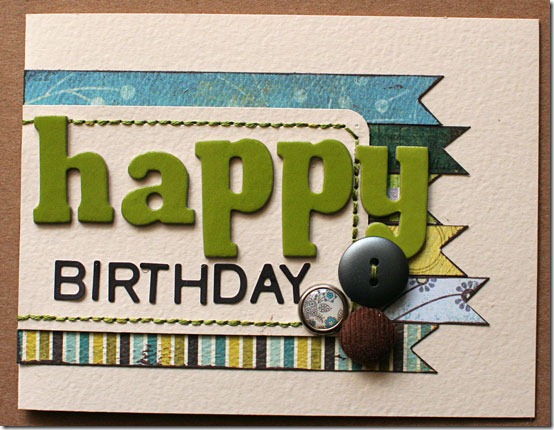
card week | happy birthday


It’s card week at Sketch Support! Head on over there to get the great sketch I used for this card, and check out everyone else’s take as well.

Nov-card

Supplies - patterned paper: My Mind's Eye, Basic Grey; letter stickers: American Crafts, Basic Grey; brads: unknown (in my Green Tangerine's Kit Club March kit); buttons: American Crafts; ink: Tsukineko; other: embroidery floss

I chose everything for this card to give it a bit more of a masculine feel. My dad’s birthday was last week, and I realized I had only a couple “man” cards in my stash! Usually I don’t give too many cards to guys, but it’s nice to have some on hand for when I do need them.

1) I really stuck to the sketch for sizes this time. I really like how having all of the strips 1/2” made it easy for me to play around with what order I wanted them in (I trimmed the length after I made my decision).

2) I swapped out the flowers, purely because I didn’t have any flowers that matched, but I had some buttons & brads!

Sunday, October 30, 2011

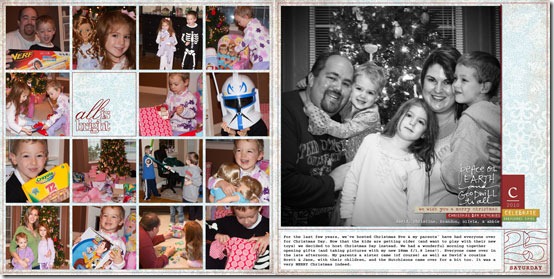
december daily, day 25


Confused?

Yes, I know, it’s almost November 2011. And my December Daily technically ended December 25th. OF LAST YEAR.

But I finally finished it!

day_25

Once Christmas was over, I was DONE with this album (which is why it’s important to stay on top of things!). Smile So I kept putting it off. (Needless to say, it hasn’t been printed yet either.)

Now that I’m done, I need to decide where/how I’m going to print it. My original plan was to print each page as an 8”x8”, and then slip each page into an 8”x8” album I got last November. And then I realized that it was going to cost me about $80 to print 50 pages like that. Ouch.

So then I thought I could just print up a photo book at Costco or Shutterfly or somewhere. Except that was going to cost me about $80 (granted, then I wouldn’t need an album. But I already own an album). Then, I found a deal on Snapfish a few weeks ago: 50% off! Score! But I had to upload & order by the 19th…the same day I had two major IEP meetings at work…meaning there was no way I could do it (since I still hadn’t finished day 25).

Well now I’m done…hopefully I’ll find a great deal on printing before December rolls around!

Thursday, October 27, 2011

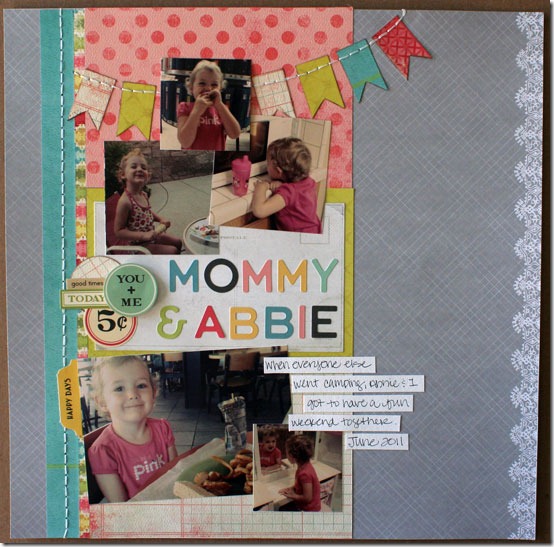
sketch support | mommy & abbie


(It’s one-page sketch week at Sketch Support again! To get the FREE sketch I based this layout on, head over to Sketch Support. While you’re there, check out all of the fabulous layouts by the Creative Team.

31-mommy-&-abbie

Supplies – patterned paper: My Mind’s Eye, Little Yellow Bicycle, Crate Paper, We R Memory Keepers, Fancy Pants; letter stickers & stickers: October Afternoon; postcard: unknown (in my Green Tangerine’s kit club-September: October Afternoon; other: pop dots & embroidery floss

1) This isn’t really a “change” I made, but I’m proud of myself so I’ll share:

I had this fun piece of gray paper with the lacy edge in my kit club box, begging to be used. However, I had already cut a big chunk out of one side that I’d used on a previous layout. Groan.

But then I noticed the big photo block covering a bunch of the background paper…hmmm…So I cut my gray paper in half & flipped the side with a piece cut out. Then I taped the 2 halves back together, so there is now a hole in the middle of my page. Make sense? That hole is now covered up & I was able to use the gray paper! Yay!

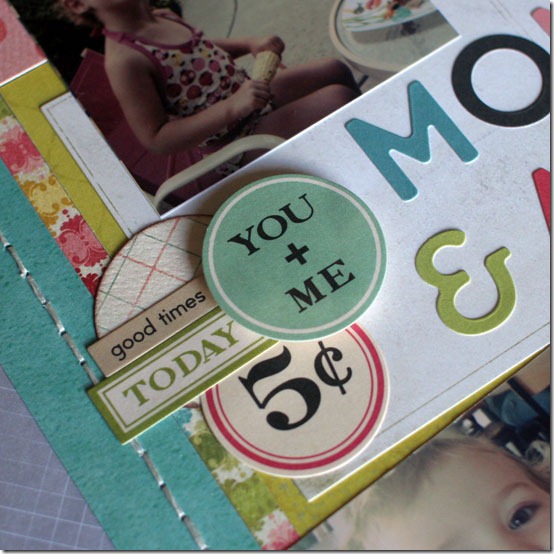
2) Since it’s not a birthday layout, I didn’t want to include birthday candles in my title block. I used a few circles & word stickers instead, popping up the “you + me” sticker (so perfect for this layout!). I also omitted the stitching, but the postcard embellishment I used had a light line defining the edge.

31-mommy-&-abbie-1

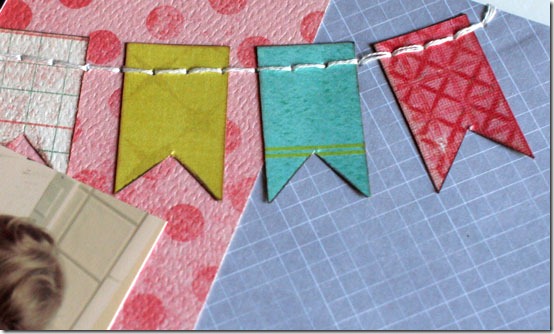
3) I decided to stitch my banner to my layout rather than try to string the paper. I used a ribbon scrap draped across the page to figure out where I wanted each piece of paper to go and then attached them. Then I used my Sew-Easy tool to punch holes. No pencil lines needed! Score!

31-mommy-&-abbie-2

Sunday, October 23, 2011

project 12 | september 2011


I’ve been creating “month in review” style layouts since I was making first year albums for my kids. While making their albums, I found it took the stress off of feeling like I had to create a layout for every. single. event. in our lives. If that works for you, fantastic! But I don’t have the time, and I want scrapbooking to be my happy creative outlet, not a chore :) So that’s why I was thrilled when I discovered Project 12, even though I’m usually a few months behind. But this month, I actually finished September’s layout before October was over!

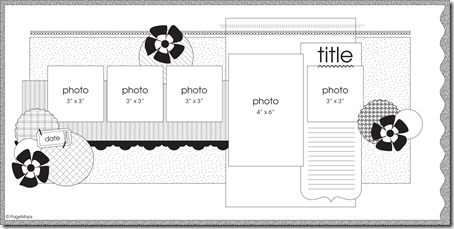
Here’s the sketch:

Sept 2011

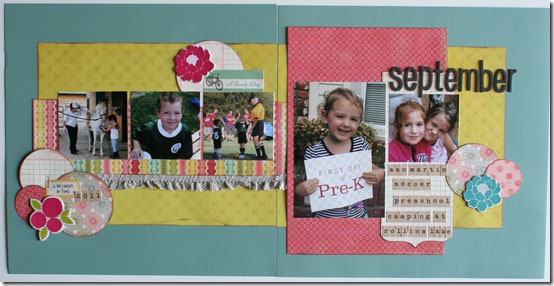
And here’s my take:

50-sept-2011 - Copy

Supplies – patterned paper: My Mind’s Eye, Crate Paper, Fancy Pants; letter stickers: October Afternoon & American Crafts Thickers; stickers: October Afternoon; chipboard flowers: Pebbles; ink: Tsukineko; circle punches: Stampin’ Up!; ribbon: unknown (from Green Tangerine’s Kit Club, September); other: staples

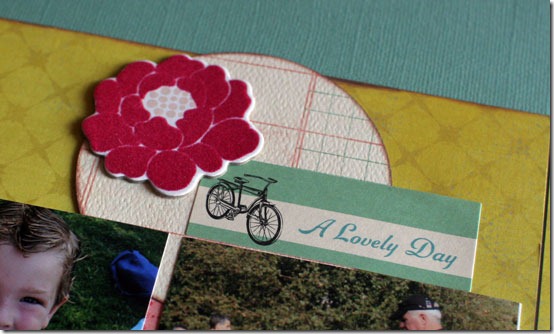
1) I didn’t vary from the sketch too much. I did not include the stitching across the top of the page purely because I didn’t feel like it, LOL! I added this word sticker from October AFternoon in my upper embellishment circle because I didn’t like how the flower I was using seemed to be “floating”. The sticker helped bring it all together, IMO.

50-sept-2011-2 - Copy


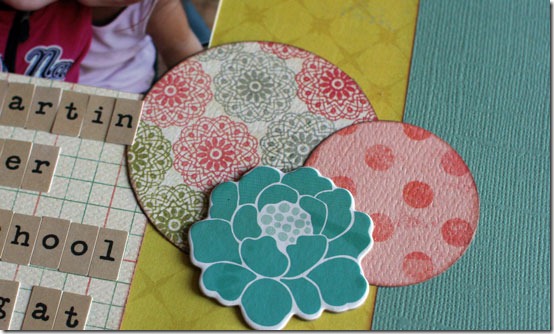
2) I had fun adding extra pops of color with the embellishment circles. I didn’t use any scalloped circles because I realized (at 11pm when I just wanted to finish) that no, I do not have the pink Marvy scalloped circle punch. I always think I do, until I need it. (Note: add that to my to-buy list pronto!)

50-sept-2011-1 - Copy


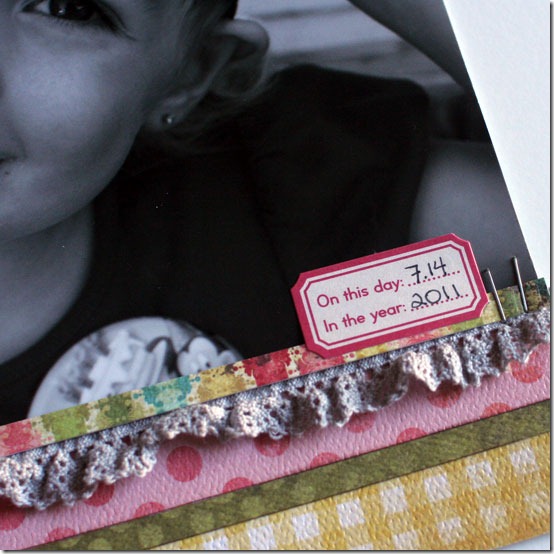
3) I used a stretchy gray lace ribbon for the scalloped edge here along the striped paper. It did add a bit more bulk that I had bargained on (since it goes under the circle embellishments), but the staples helped hold everything down.

50-sept-2011-3 - Copy

Friday, October 14, 2011

simple stories product challenge| now we are six

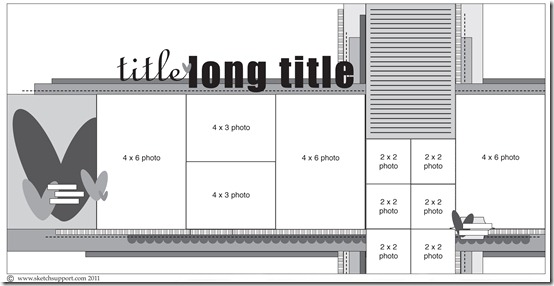
Simple Stories was kind enough to give all of us on the Creative Team at Sketch Support some fun products to use as part of the Sketch Support product challenge. We were asked to create a layout based on the following sketch using the supplies we were given.

09 june basic sketch

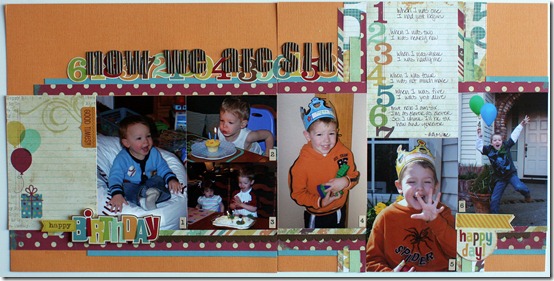
I’ve been waiting to come across the right design for my “Now We are Six” idea. This sketch fit my idea perfectly!

12-now-we-are-six

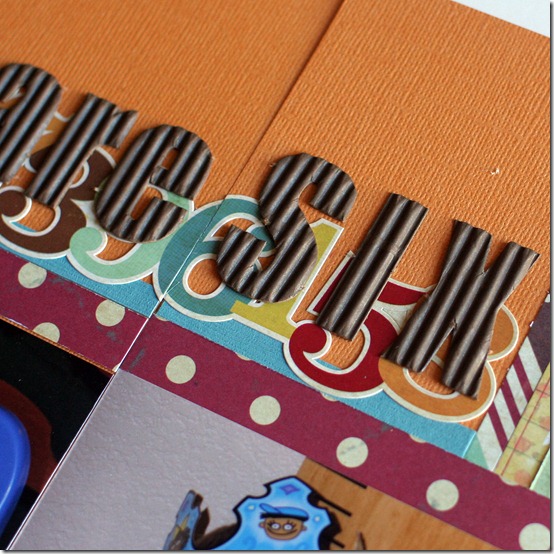
Supplies – patterned paper & stickers: Simple Stories; cardstock: Bazzill Basics; corrugated letters: Jillibean Soup; number stickers: October Afternoon; other: pop dots

1) I eliminated the photo block of six photos on the right page, & just used a single 4'”x6”.

2) I added the strip of number stickers across the top because I wanted to bring some more color behind the title.

12-now-we-are-six-3

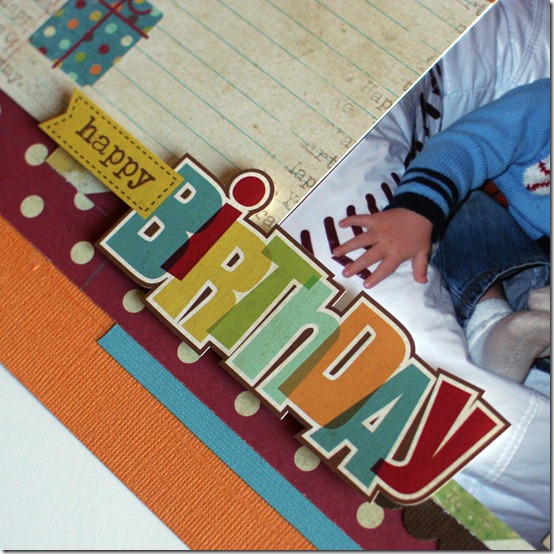
3) I didn’t do any extra embellishments on the rectangle on the left. The Simple Stories papers were already decorated, so I worked with what was there. I did add the “good times” sticker (on top of a label printed on the paper). I used the “happy BIRTHDAY” sticker along the bottom to tie the block to the photos (and I popped it up as well).

12-now-we-are-six-1

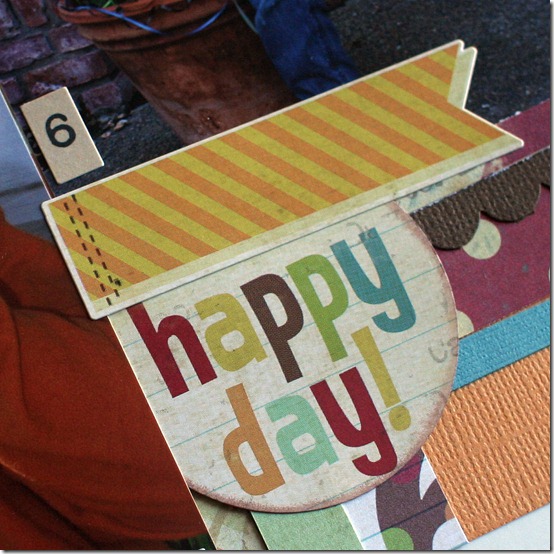
4) I punched the “happy day!” label out of sticker that was a different shape.

12-now-we-are-six-2

Thursday, October 13, 2011

abbie 3

Here is the sketch I started with:

09 june basic sketch

And this is what I came up with:

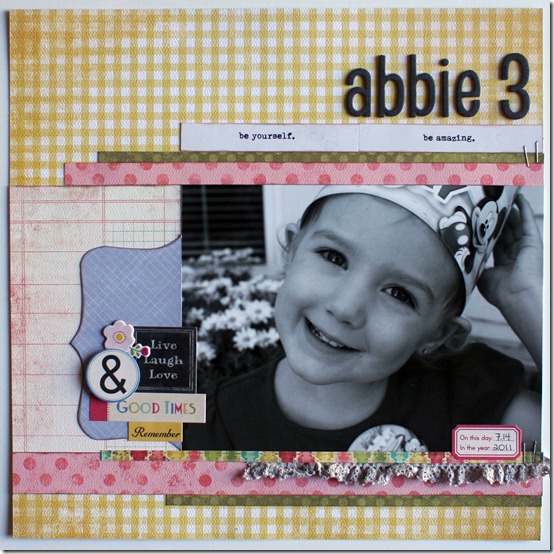
41-abbie-3

Supplies – patterned paper: Stella and Rose by My Mind’s Eye, Little Yellow Bicycle; letter stickers: American Crafts; stickers: October Afternoon; chipboard: Pebbles; ink: Tsukineko; ribbon & word strips: from Green Tangerine Kit Club (September); other: staples

1) The most obvious change I made was that I did a single page layout, using the left-hand side of the sketch.

2) I used one large (8”x6”) photo in the photo block. I had this great picture of my daughter from her third birthday just asking to be scrapped, so I resized it in Photoshop Elements & converted it to black & white.

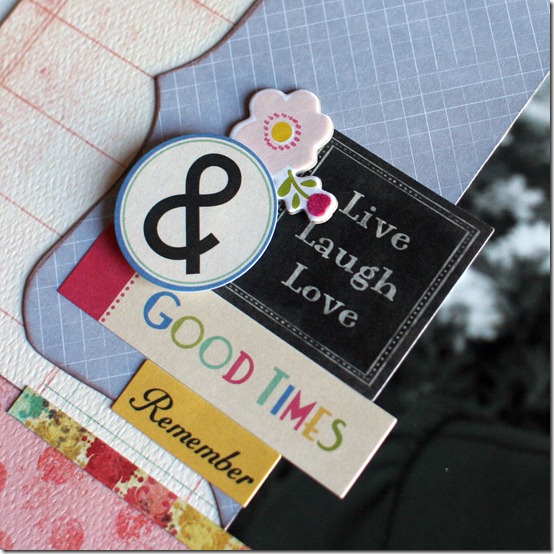
3) On the far left I used an oversized “label” that I made by tracing a template onto patterned paper. I embellished it with lots of word stickers from October Afternoon, and then added a chipboard flower to bring some pink to that area.41-abbie-2

4) I added an extra layer of paper along the top by using some fun word strips that came in my Green Tangerine’s kit club box. I liked the words together (“be yourself. be amazing.”) and it added a nice bit of white to the top to balance it out.

5) Lastly I used a few staples to help hold the ribbon in place, and also on the word strips to bring in some detail.

41-abbie-1

Saturday, October 8, 2011

simple stories product challenge| birthday card


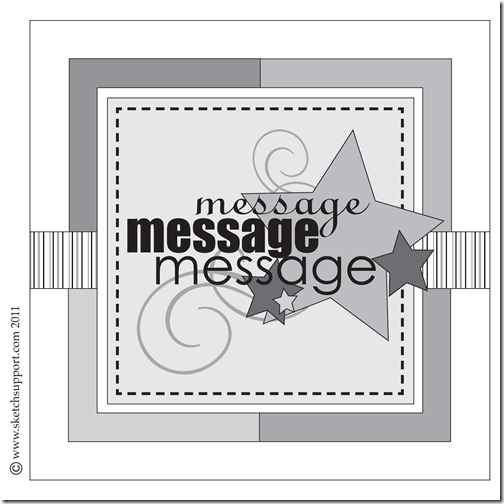
Simple Stories was kind enough to give all of us on the Creative Team at Sketch Support some fun products to use as part of the Sketch Support product challenge. We were asked to create a card based on the following sketch using the supplies we were given.

Layout 1

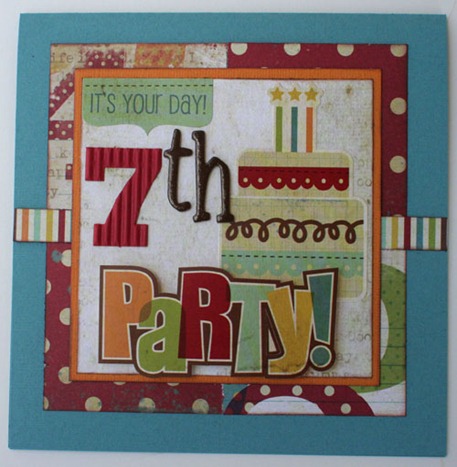
Here is what I came up with:

Oct-card-SS

supplies - patterned paper & stickers: Simple Stories; letter stickers: American Crafts; corrugated number: Jillibean Soup; ink: Tsukineko; cardstock: Bazzill Basics

This was such a fun card to put together using this card sketch from Sketch Support.

1) I used both sides of a sheet of patterned paper to create my background layer. I just cut four 2 1/2” squares & then placed two face up & two face down, in opposite corners. Then I inked just the outside edges to give it a bit more definition.

2) I wanted a nice, simple stripe to cross over them, so I trimmed approximately 1/2” of striped paper from one of the sheets of paper. It came off of a journaling block that I wasn’t using. Again, I inked the edges.

3) Next I layered a piece of orange cardstock (inked) and a plain piece of patterned paper. This is the inside of the same journaling block that I got the striped piece from. I wanted something simple to layer my stickers on top of.

4) Now that I had a nice base, I picked out a few stickers, popped up the word party, and added “7th” with some letters & numbers from my stash. (My son has a bunch of friends turning seven soon so I know this will get used).

Tuesday, October 4, 2011

sketch support | hello friend


Oct-card

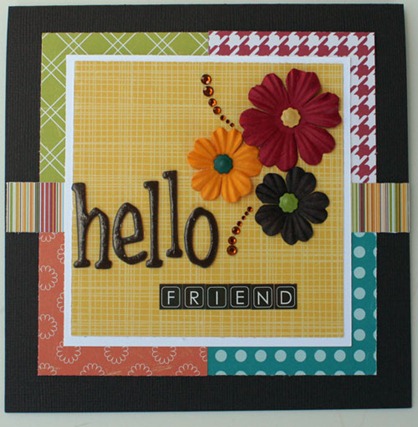
supplies: patterned paper: Echo Park, Jillibean Soup; letter stickers: American Crafts, Jillibean Soup; brads: Doodlebug Designs; rhinestones: Kaiser craft; flowers: Bazzill Basics

This was another fun card sketch from Allison at Sketch Support! I had a bunch of Jillibean & Echo Park scraps in my stash, begging to be put to good use. I picked out a few colors to go together and had some fun. The rhinestones were part of a circle that I cut apart so that I could have some flourishes for the flowers.